
Is not a secret that Data Science tools like Jupyter, Apache Zeppelin or the more recently launched Cloud Data Lab and Jupyter Lab are a must be known for the day by day work so How could be combined the power of easily developing models and the capacity of computation of a Big Data Cluster? Well in this article I will share very simple step to start using Jupyter notebooks for PySpark in a Data Proc Cluster in GCP.
Final goal

Prerequisites
1. Have a Google Cloud account (Just log in with your Gmail and automatically get $300 of credit for one year) [1]
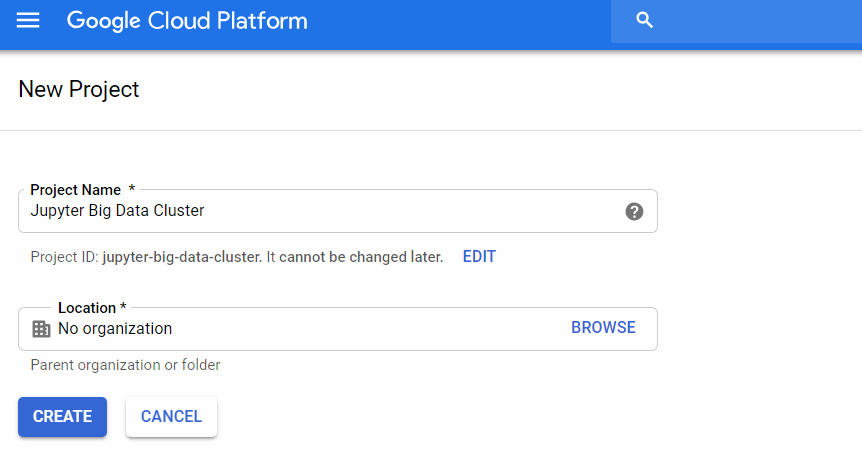
2. Create a new project with your favorite name
Steps
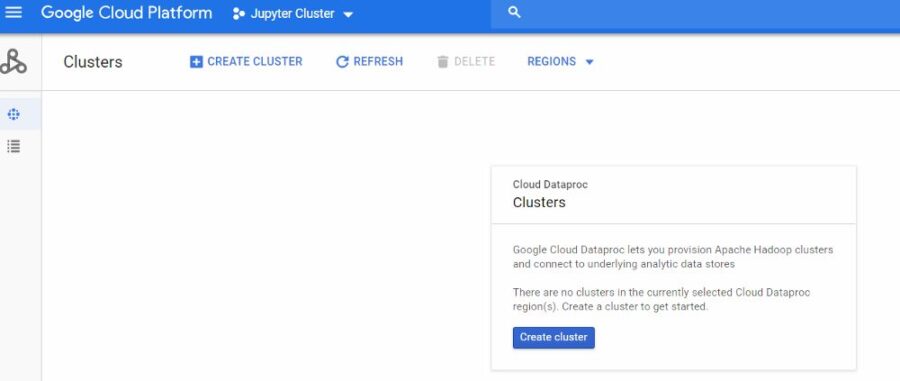
- In order to make easier the deployment, I’m going to use a beta featurethat only can be applied when creating a Data Proc Cluster through Google Cloud Shell. For our cluster, we need to define many features like numbers of workers, master´s high availability, amount of RAM an Hard Drive, etc. To make easy I recommend simulating the creation of the cluster by the UI. First we need to enable Dataproc (figures 1 and 2).
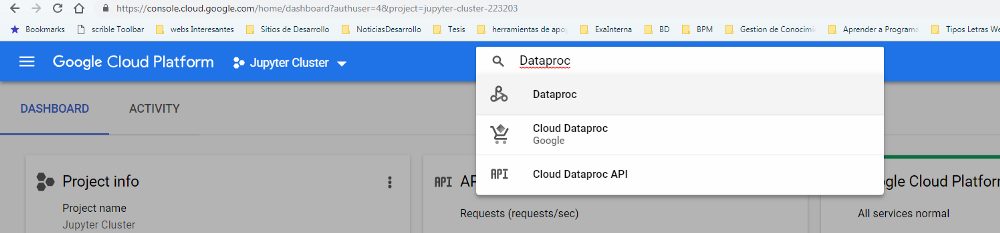
Figure 1 Enable Dataproc API I
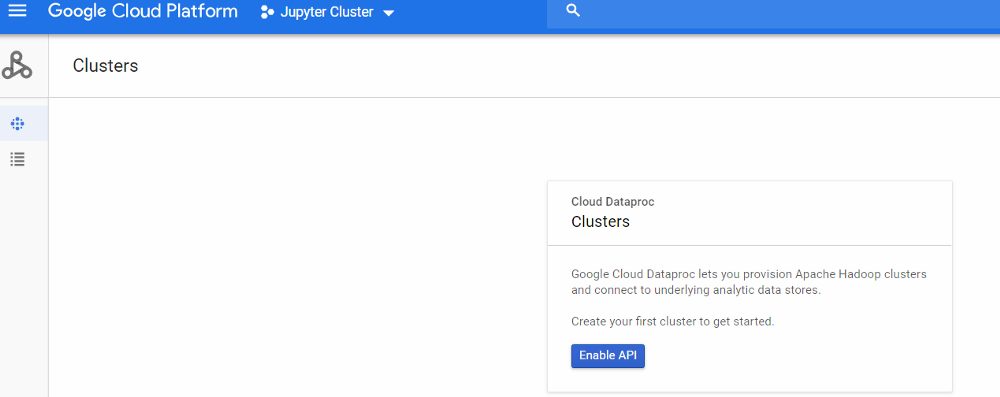
Figure 2 Enable Dataproc API II
2. Get the equivalent command line simulating the creation process with your own cluster´ size. I’m going to set basic specs:
- Region: global
- Cluster mode: Standard
- Master node: 2 vCPUs, 7.5GB memory, and 300 disk size
- Workers nodes: 2vCPUs, 7.5GB memory, and 200 disk size
Simulate creating a cluster through UI
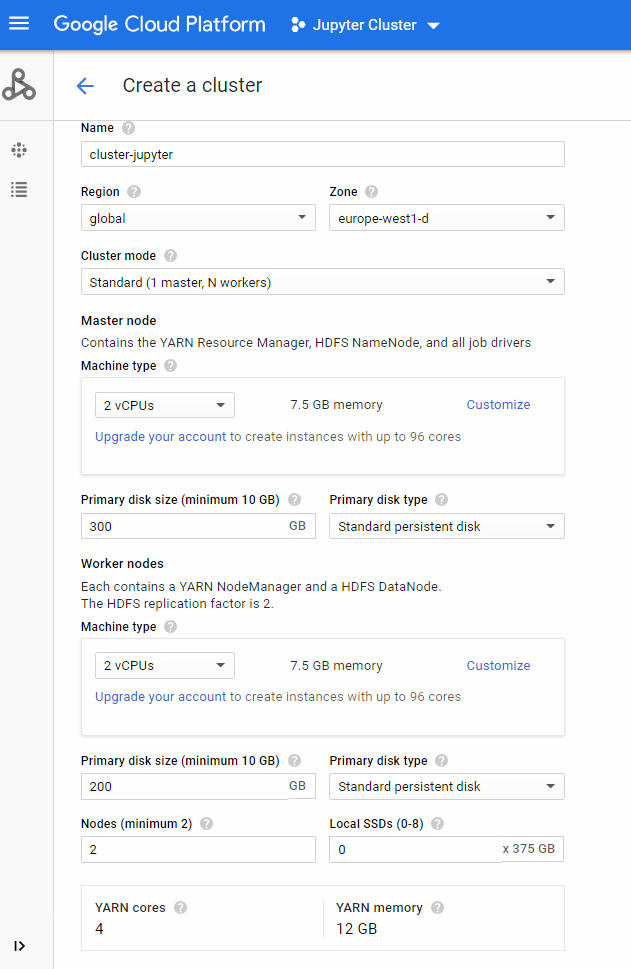
Basic specs
Important: You should click Advance options and change Image to 1.3 Debian 9 to make beta parameters works.
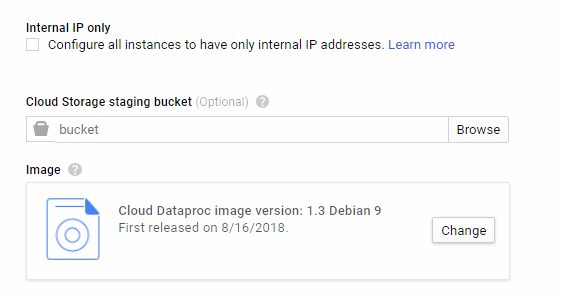
To access click Advance options
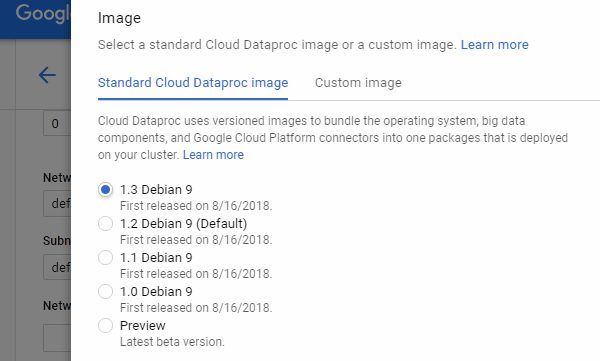
Change to 1.3 Debian 9
3. Get equivalent command line
Click in command line
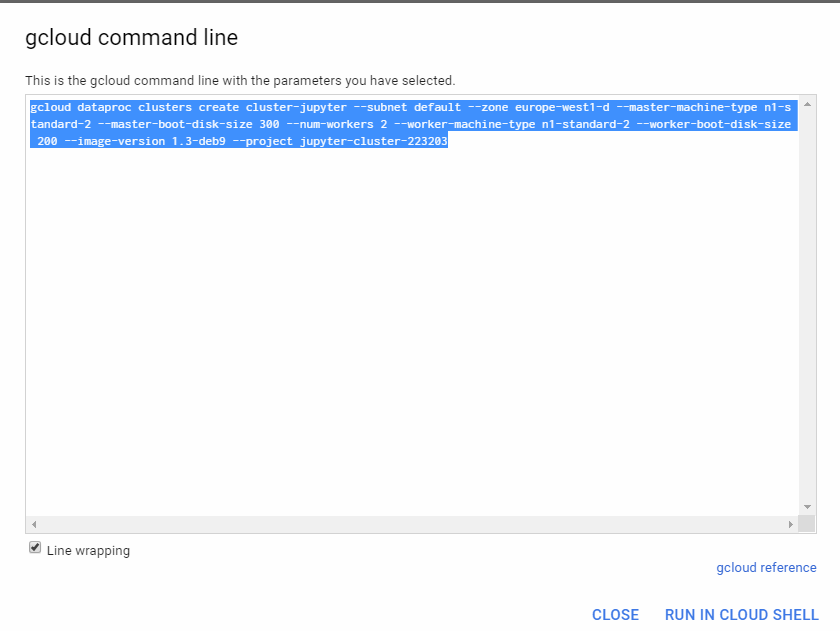
Copy the gcloud command
4. Close the simulation and click to Activate Cloud Shell

Activate Cloud Shell
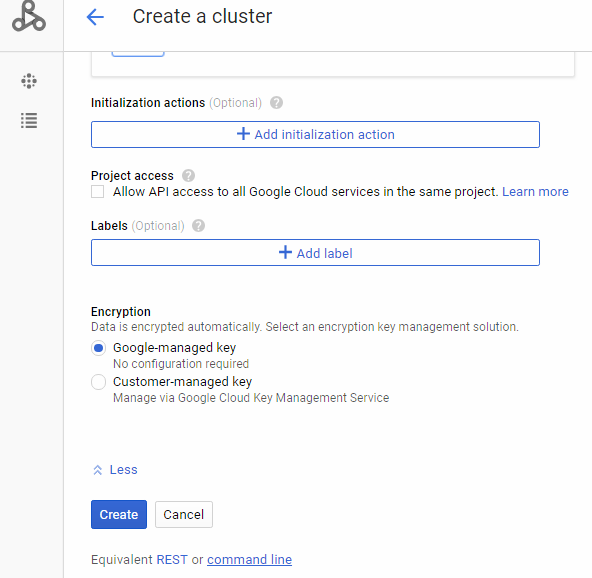
5. Modify your command adding and run (could take several minutes)
— optional-components=ANACONDA,JUPYTER
Change
gcloud dataproc clusters to gcloud beta dataproc clusters
Run
gcloud beta dataproc clusters create cluster-jupyter — subnet default — zone europe-west1-d — master-machine-type n1-standard-2 — master-boot-disk-size 300 — num-workers 2 — worker-machine-type n1-standard-2 — worker-boot-disk-size 200 — optional-components=ANACONDA,JUPYTER — image-version 1.3-deb9 — project jupyter-cluster-223203

running in shell

cluster created
6. Allow incoming traffic for Jupyter port, search for the firewall rules in the landing page and create a rule.

search Firewall rules VPC network

click on create a rule
7. Define the Firewall rule opening port 8123 and save.

parameters

Rule working
8. Enter your Jupyter notebook! (you need your master IP and add the jupyter default port e.g. http://30.195.xxx.xx:8123 )
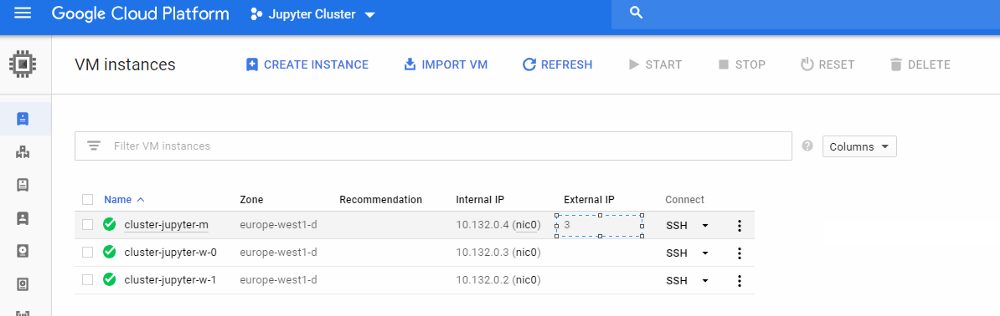
get master´s IP
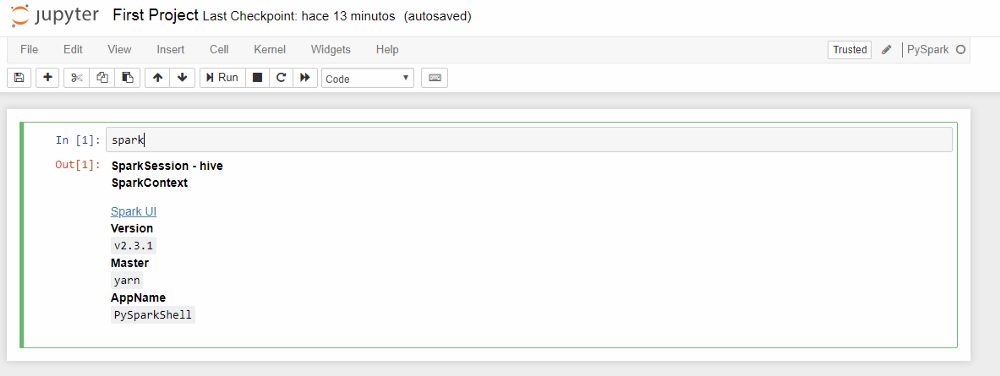
9. Let´s create our first Pyspark notebook
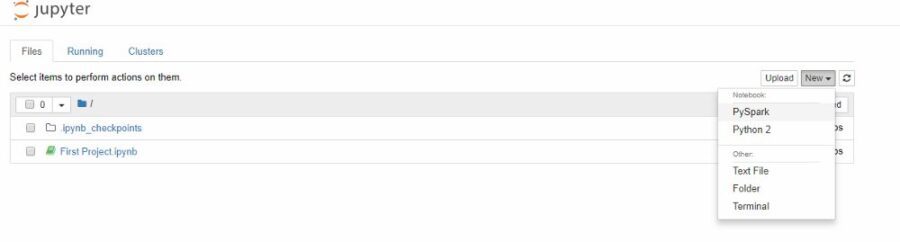
create the first Pyspark notebook
10. Validate that is running well
Bonus: Check Spark UI
- To access Spark UI you need to add another Firewall rule like the step 7. Open ports 8088, 4040, 9870 and 4041.
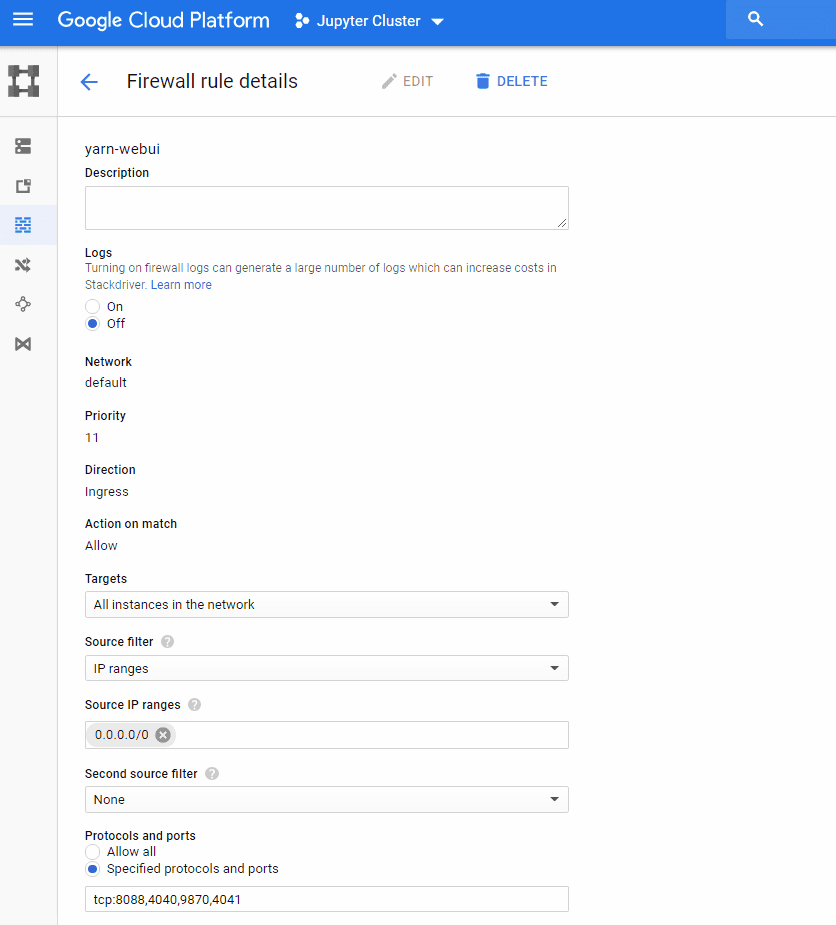
Create Spark UI rule
- Click on Spark UI link got in our first notebook, you will get an ERR_NAME_NOT_RESOLVED error, just replace the URL to the master IP
e.g. http://3x.xxx.xx.x:8088/proxy/application_1542773664669_0001
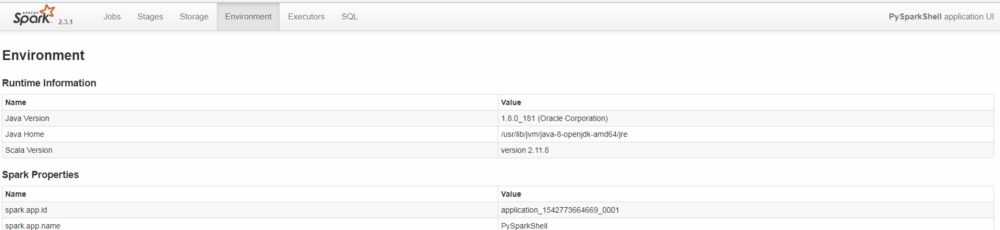
Spark UI
Conclusion
In this article, I tried to deploy Jupyter in a Data Proc Cluster making more friendly to use PySpark in a real cluster. Please feel free if you have questions or suggestions for next articles.
See you in the next article! Happy Learning!